
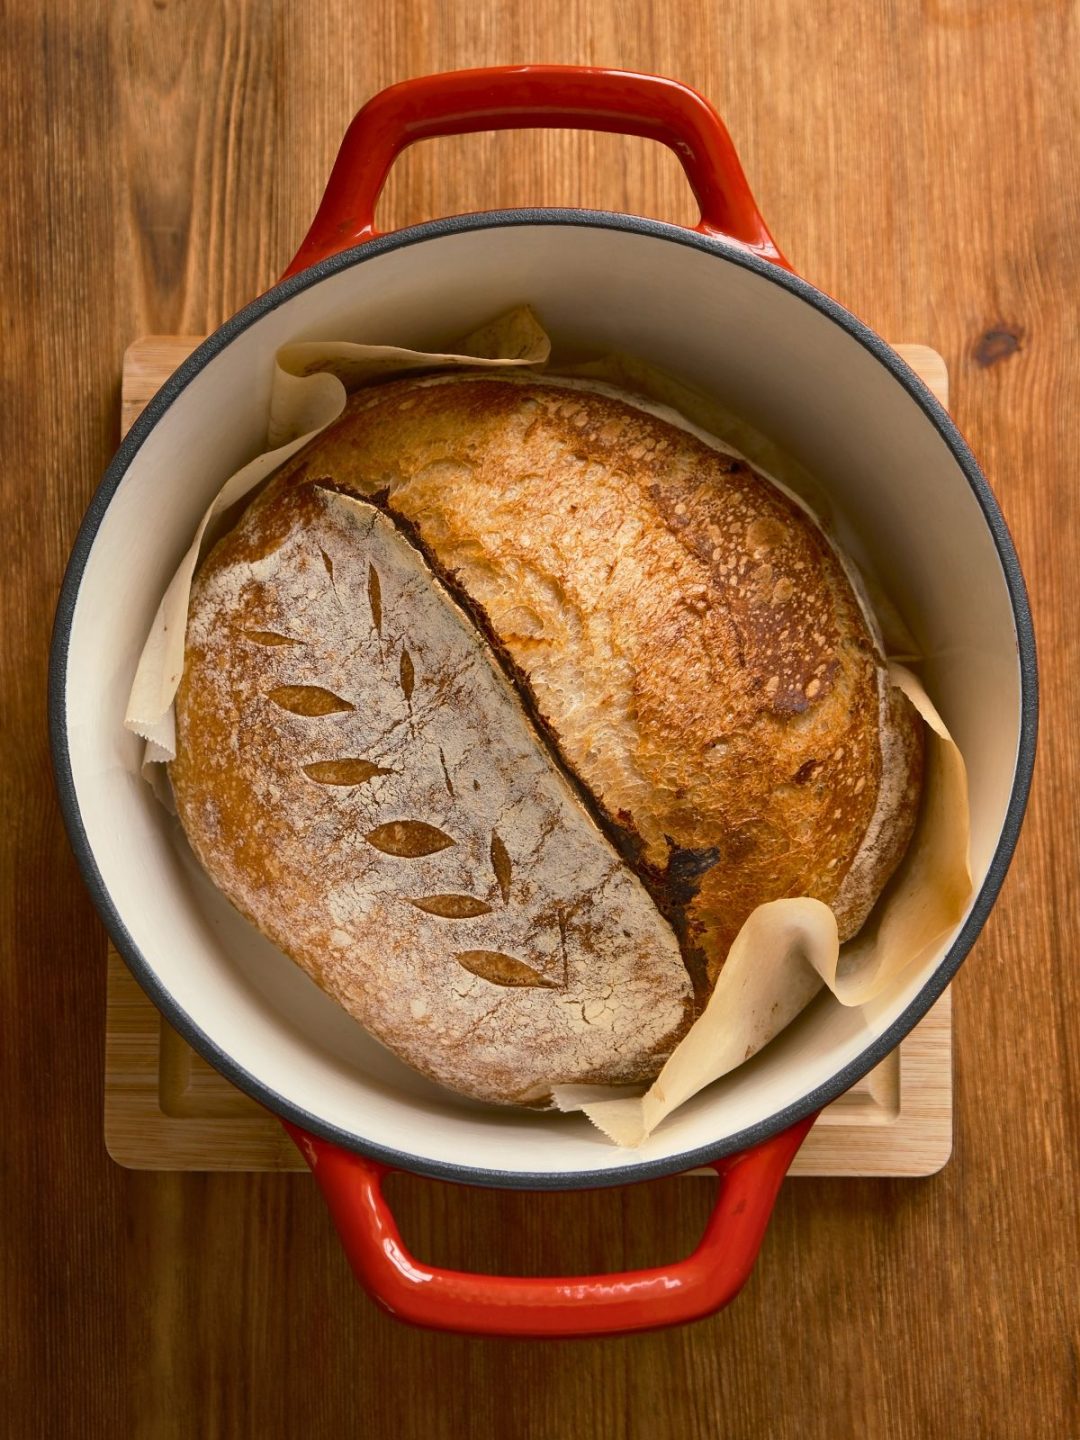
Baking sourdough bread isn’t as difficult as it might seem. Yes, it takes a little more time and patience than making bread with commercial yeast, but the process itself is quite simple. There’s also something satisfying about knowing exactly what goes into your bread and watching a few basic ingredients—flour, water, sourdough starter, and salt—turn into a loaf with a crisp crust and a wonderful aroma.
But let’s be honest: if you just need bread, it’s much easier to buy a loaf at the store. If, however, you enjoy making something from scratch, choosing your own ingredients, and learning a new skill, baking sourdough bread at home can become a rewarding hobby.
In this article, I’ll show you how to make a basic sourdough loaf. We’ll go through the entire process, from mixing the ingredients to baking the bread. I’ll also compare two baking methods: using a Dutch oven and baking in a regular home oven without one.
This recipe is suitable for beginners who are baking sourdough for the first time, as well as those who have tried it before but haven’t quite achieved the results they wanted.
Ingredients for Sourdough Bread
For your first loaf, I recommend starting with a simple recipe without whole wheat flour, seeds, or other add-ins. This makes it easier to understand how the dough behaves and learn to recognize when it’s ready for the next step.
You’ll need bread flour, water, an active sourdough starter, and salt. You’ll find the exact quantities in the recipe card below.
I use high-protein wheat flour. Different flours absorb different amounts of water. While you’re learning to work with sourdough, it’s best to stick with the same flour and avoid changing several recipe variables at once.
What Should Your Sourdough Starter Look Like?
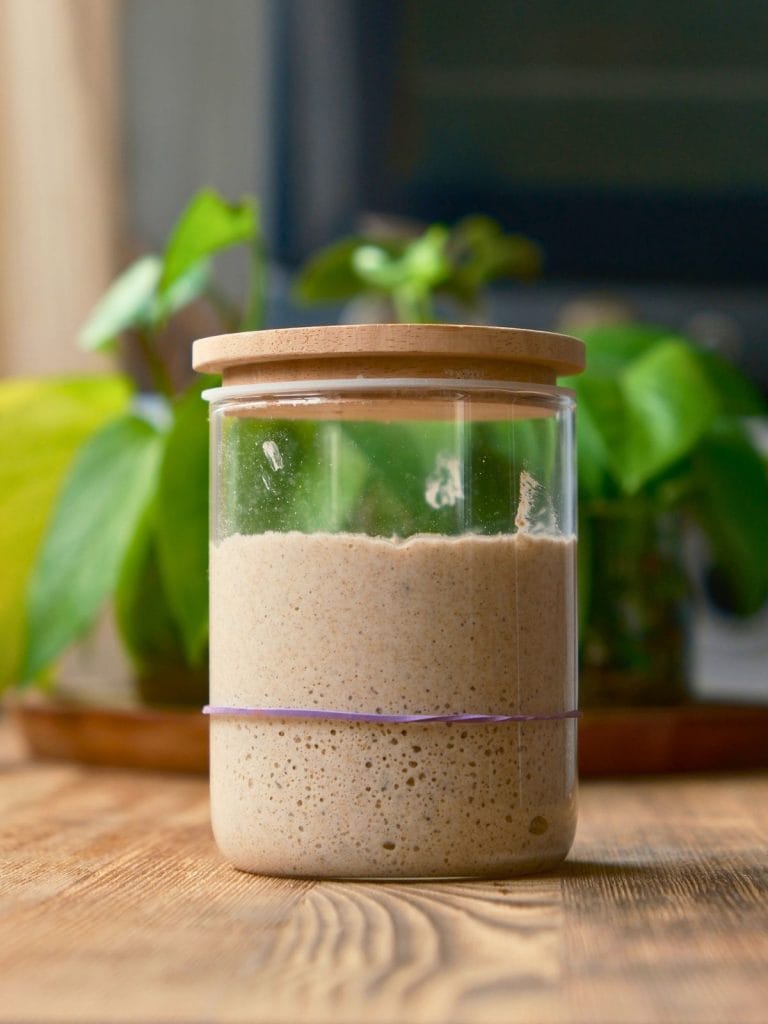
Before you begin, make sure your starter is active.
After feeding, it should rise noticeably—at least double in size—become bubbly and airy, and show clear signs of fermentation.
Don’t rely on the number of hours since feeding alone. How quickly a starter becomes ready depends on the room temperature, the feeding ratio, the starter’s strength, and other conditions.
If you don’t have your own starter yet, or you’re not quite sure how to feed and store it, start with my guide to sourdough starter.
How to Make Sourdough Bread
1. Mix the Ingredients
In a mixing bowl, combine the sourdough starter, water, and salt. Add the flour and mix until everything is incorporated and no dry flour remains.
There’s no need to knead the dough extensively at this stage. The goal is simply to combine the ingredients.
Cover the bowl and let the dough rest for about 30 minutes. During this time, the flour absorbs the water, and the dough becomes more cohesive and easier to handle.
2. Stretch and Fold the Dough
After the initial rest, it’s time to start stretching and folding the dough.
Wet your hands, grab one edge of the dough, gently stretch it upward, and fold it toward the center. Repeat on all sides.
Cover the bowl and let the dough rest for 30 minutes before repeating the folds.
In total, perform four rounds of stretching and folding, with approximately 30 minutes between each round. This technique helps develop the dough’s structure without extensive kneading.
3. Let the Dough Rise
After the final set of folds, leave the dough to continue fermenting.
The exact timing depends on the room temperature, the activity of your starter, and the dough itself. As a general guideline, this stage may take another 2–3 hours.
However, don’t treat that time as a strict rule. Watching the dough is much more important. At this stage, the dough should increase in volume by about 50%, becoming airier and more elastic. If it has barely changed, it needs more time.
This is often where beginners run into trouble. A recipe may say to wait a certain number of hours, but the dough doesn’t always follow the schedule. That’s normal. Sourdough is a living process, so you need to pay attention to the dough itself rather than relying only on the clock.
4. Pre-Shape the Dough
Once the dough has risen sufficiently, turn it out onto your work surface.
Gently shape it into a ball or fold it into an envelope, creating some surface tension without tearing the dough.
Let it rest on the counter for 15–20 minutes before the final shaping.
5. Shape the Loaf
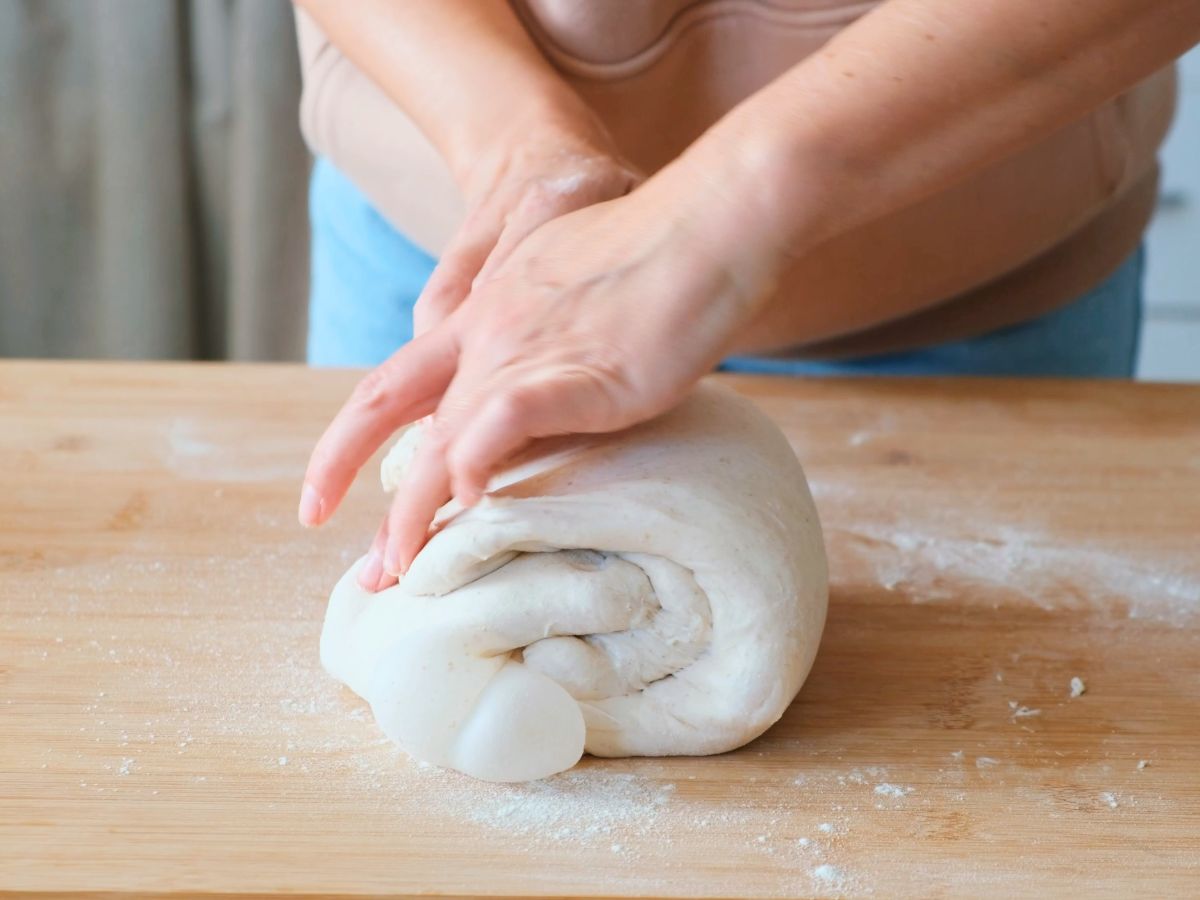
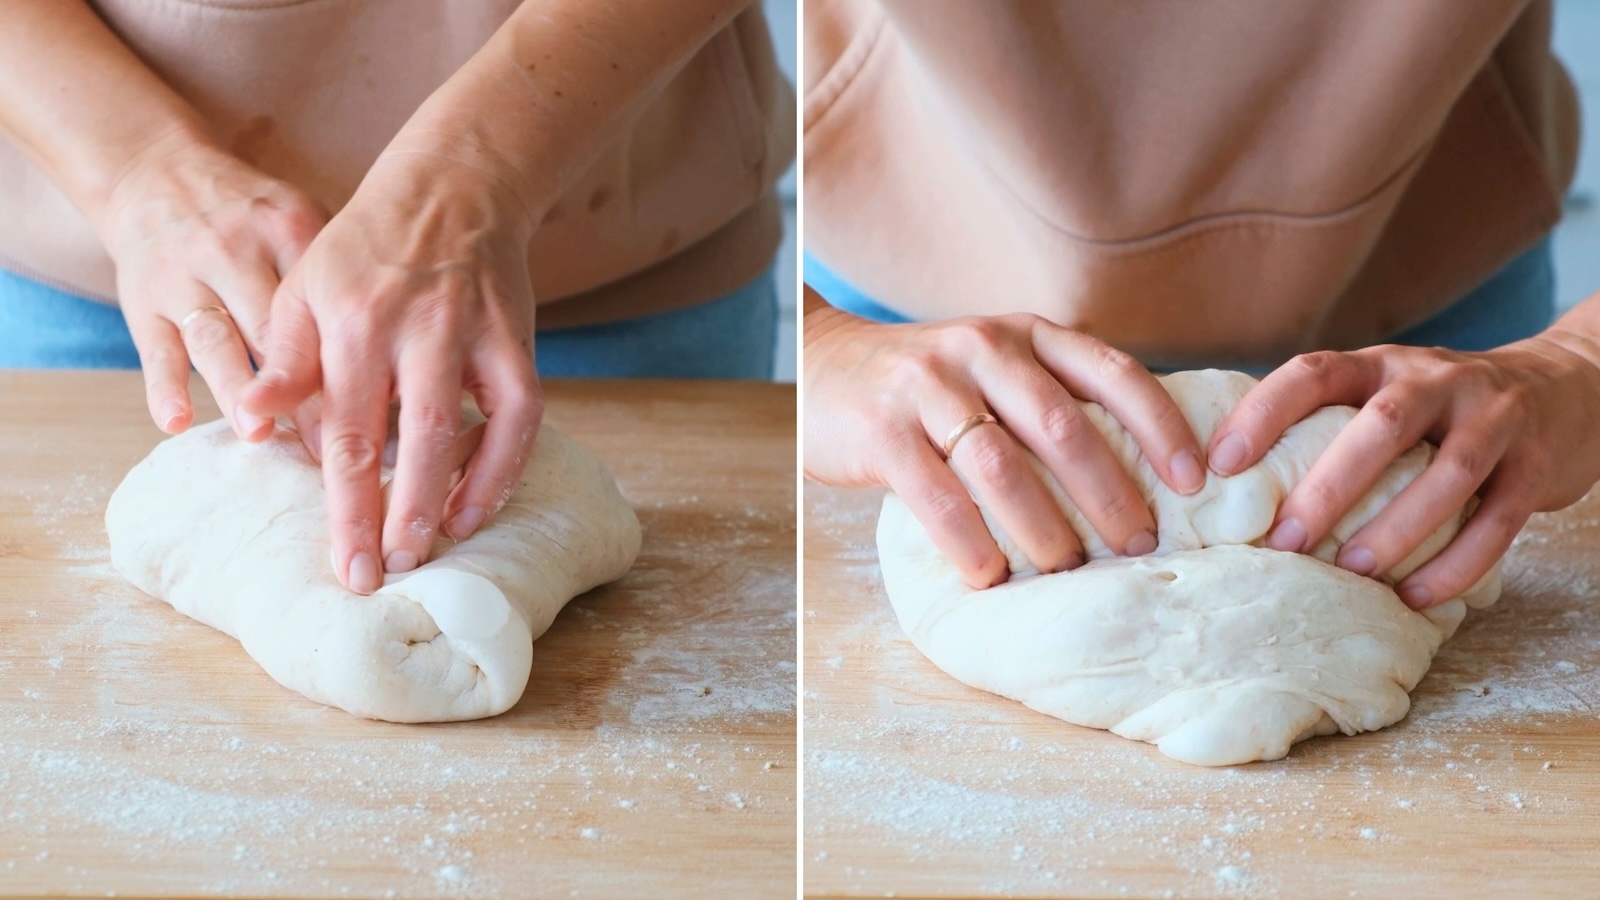
After the rest, shape the dough into your preferred loaf shape.
The goal is to create enough tension on the surface to help the loaf hold its shape while making sure you don’t tear the dough.
Place the shaped dough seam-side up in a proofing basket, also known as a banneton.
If you don’t have a proofing basket, an ordinary bowl lined with a clean linen or cotton cloth works just fine. Dust the cloth generously with flour to help prevent sticking. I used this method myself for several years.
The most important thing is to make sure the dough doesn’t stick to the cloth.
6. Final Proof
Now the dough needs time for its final rise.
You have two main options:
- Let the dough proof at room temperature for approximately 2–3 hours.
- Place it in the refrigerator overnight for a cold proof.
The exact timing depends on the temperature, the activity of your starter, and how far fermentation has progressed during the previous stages.
7. Prepare the Bread for Baking
Before baking, you can check whether the dough is ready with the finger-poke test.
Gently press a finger into the dough.
- If the indentation springs back quickly, the dough probably needs more time.
- If it springs back slowly and leaves a slight indentation, the dough may be ready to bake.
- If the indentation doesn’t spring back at all and the dough looks weak and slack, it may be overproofed.
This test isn’t completely reliable on its own, so pay attention to other signs, including the dough’s volume, elasticity, and overall appearance.
Once the dough is ready, preheat your oven to 250°C (480°F). Allow at least 30 minutes for it to heat thoroughly.
While the oven preheats, carefully turn the dough out onto a piece of parchment paper, seam-side down.
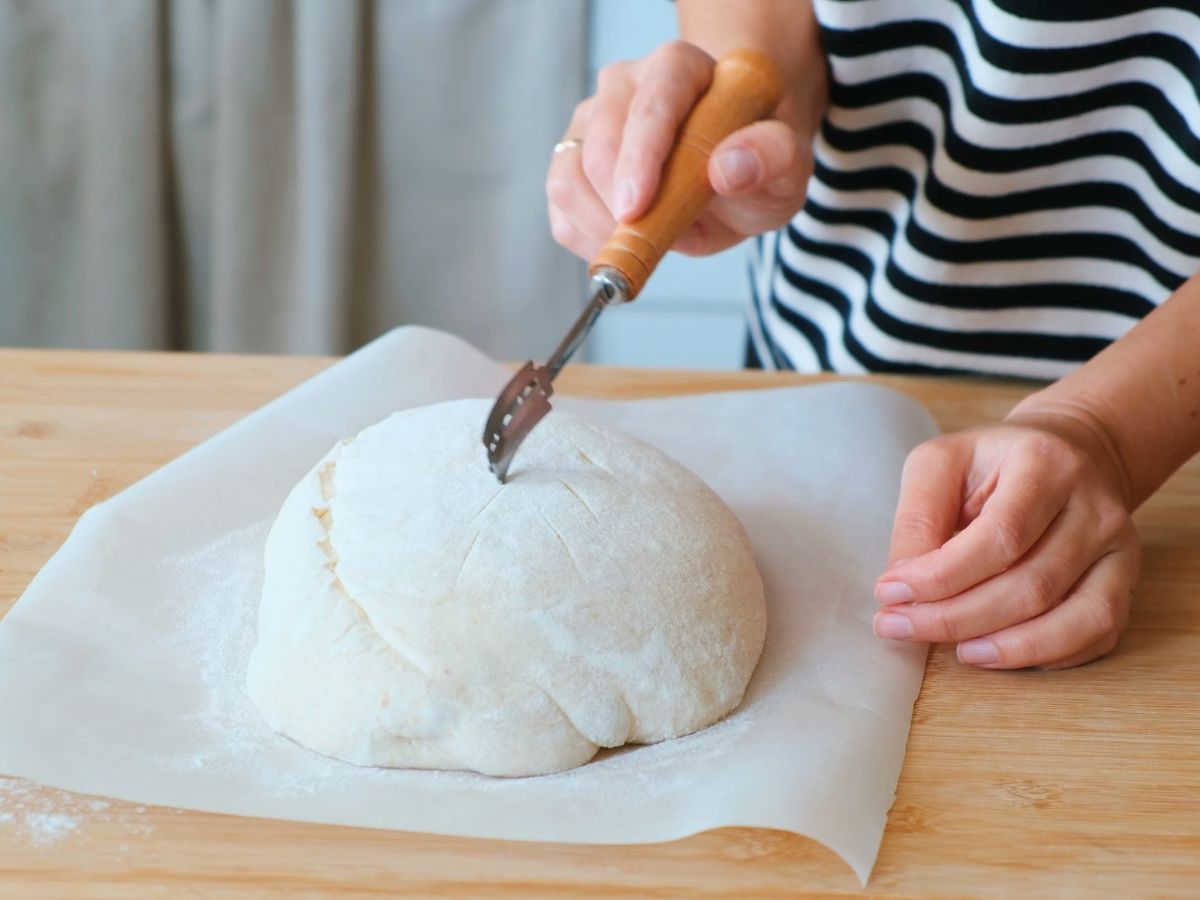
Using a sharp bread lame or razor blade, score the top of the dough about ½–¾ inch deep. A long slash slightly off-center helps the loaf expand as it bakes.
How to Bake Sourdough Bread
There are two main methods I want to show you: baking in a regular home oven without special equipment and baking in a covered cast-iron or ceramic pot.
Method 1: Baking Without a Dutch Oven
As mentioned above, it’s important to preheat your oven thoroughly and create steam during the beginning of the bake.
To prepare for steaming, preheat the oven with a heatproof pan or metal tray on the bottom rack. Once the oven is hot, place the bread on a preheated baking sheet or baking stone and carefully pour boiling water into the heatproof pan on the bottom rack.
Be careful when adding the water, as the steam can cause burns.
Bake for approximately 20 minutes. Then carefully remove the pan of water, lower the oven temperature to 230°C (450°F), and continue baking for another 20–25 minutes, or until the crust is nicely browned. The exact baking time will depend on your oven.
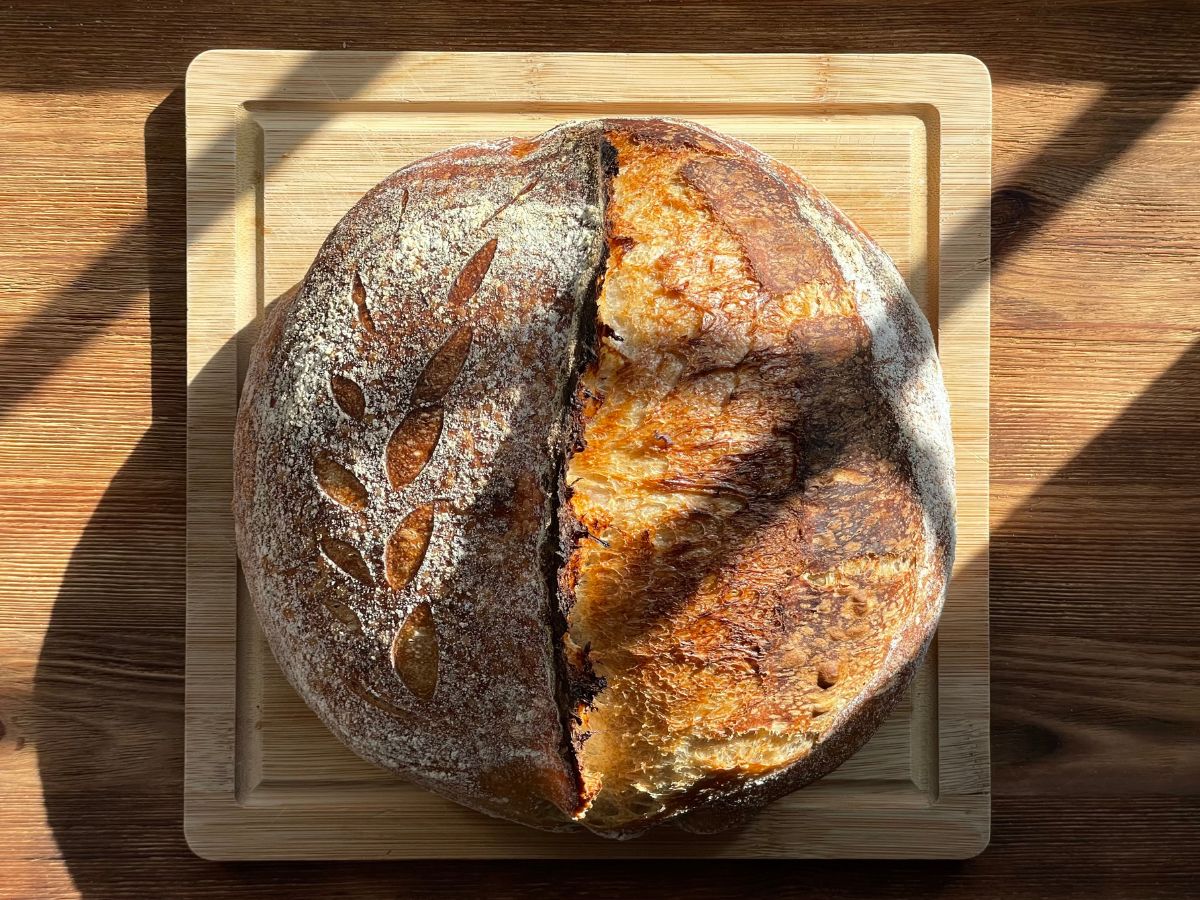
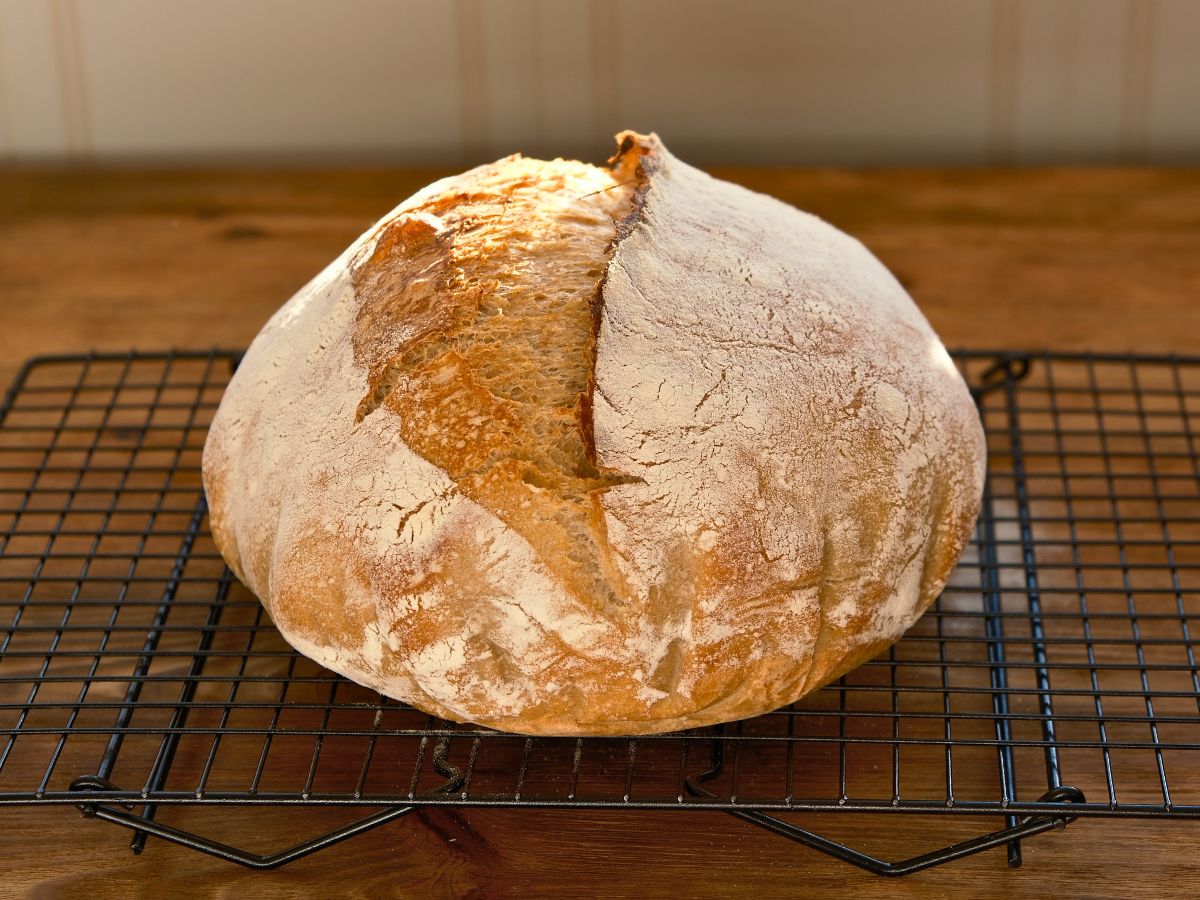
When the bread is done, the crust should be golden brown. If you tap the bottom of the loaf, it should sound hollow.
Method 2: Baking in a Dutch Oven
If you have a heavy cast-iron or ceramic pot with a lid, often called a Dutch oven, try baking your sourdough in it.
The covered pot traps moisture released by the dough, creating a steamy environment that helps the loaf expand during the initial stage of baking.
The Dutch oven needs to preheat along with the oven.
Once both are hot, carefully transfer the scored dough, on its parchment paper, into the pot. Cover with the lid and bake for approximately 20 minutes.
Remove the lid, lower the oven temperature to 230°C (450°F), and continue baking for another 20–25 minutes, or until the crust reaches your preferred color. The exact time will depend on your oven.
In my experience, this method produces a noticeably better result: the loaf rises more, and the crust is thinner and crispier.
However, don’t rush out to buy special equipment just to bake your first loaf. You can start with a regular oven, learn how to work with the dough, and decide later whether a Dutch oven or another covered baking pot is worth investing in.
8. Let the Bread Cool
Once the bread is baked, transfer it to a wire rack and let it cool completely.
I know how tempting it is to cut into a fresh loaf right away, especially when your kitchen smells amazing. But it’s worth waiting.
The crumb continues to set as the bread cools. If you slice it too early, the inside may seem gummy or overly moist.
Let the loaf cool completely before slicing to give it the best texture.
Final Thoughts
Baking sourdough bread takes practice, but you don’t need to master everything at once. Start with a simple recipe, get to know your starter, and learn to recognize how your dough changes throughout the process.
Your first loaf may not look exactly like the ones you see online, and that’s completely fine. Each bake teaches you something about your starter, your flour, your kitchen temperature, and your oven.
If you try this recipe, I’d love to hear how it turned out! Share your experience or any creative twists in the comments below. Happy baking!
Basic Sourdough Bread Recipe | YellowMixer.com
Print RecipeIngredients
- 500 g (about 4 cups) bread flour
- 340 g (about 1 ⅖ cups) water
- 100 g (about ½ cup, loosely filled) active sourdough starter
- 10 g (about 1 ⅔ teaspoons) salt
Instructions
Combine the active sourdough starter, water, and salt in a large bowl. Add the bread flour and mix until no dry flour remains. Cover and let rest for 30 minutes.
With wet hands, stretch one edge of the dough and fold it toward the center. Repeat on all sides. Cover and let rest for 30 minutes. Repeat until you have completed four rounds of folds.
Cover the dough and let it rise for about 2–3 hours, or until it increases in volume by approximately 50% and looks airy. The timing will depend on your starter and room temperature.
Turn the dough onto a lightly floured surface. Gently shape it into a ball or envelope. Let it rest for 15–20 minutes.
Shape the dough into a round or oval loaf, creating surface tension without tearing the dough. Place it seam-side up in a floured proofing basket or a bowl lined with a well-floured cotton or linen towel.
Let the dough proof at room temperature for 2–3 hours, or refrigerate overnight. The dough should look airy and respond slowly to a gentle finger press.
Preheat the oven to 480°F (250°C) for at least 30 minutes. If using a Dutch oven, preheat it inside the oven as well.
Carefully turn the dough onto parchment paper, seam-side down. Use a sharp bread lame or razor blade to make a slash about ½–¾ inch deep across the top.
To bake without a Dutch oven: Place the loaf on a preheated baking sheet or baking stone. Carefully pour boiling water into a preheated heatproof pan on the bottom rack to create steam. Bake for 20 minutes, then carefully remove the water pan, reduce the temperature to 450°F (230°C), and bake for another 20–25 minutes, until the crust is golden brown.
To bake in a Dutch oven: Carefully transfer the dough on parchment into the preheated Dutch oven. Cover and bake for 20 minutes. Remove the lid, reduce the temperature to 450°F (230°C), and bake for another 20–25 minutes, until the crust is deeply golden.
Transfer the bread to a wire rack and let it cool completely before slicing so the crumb has time to set.
Notes
Cup measurements are approximate because flour and sourdough starter can vary in density. For the most consistent results, I recommend weighing your ingredients with a kitchen scale.


Be the first to comment