
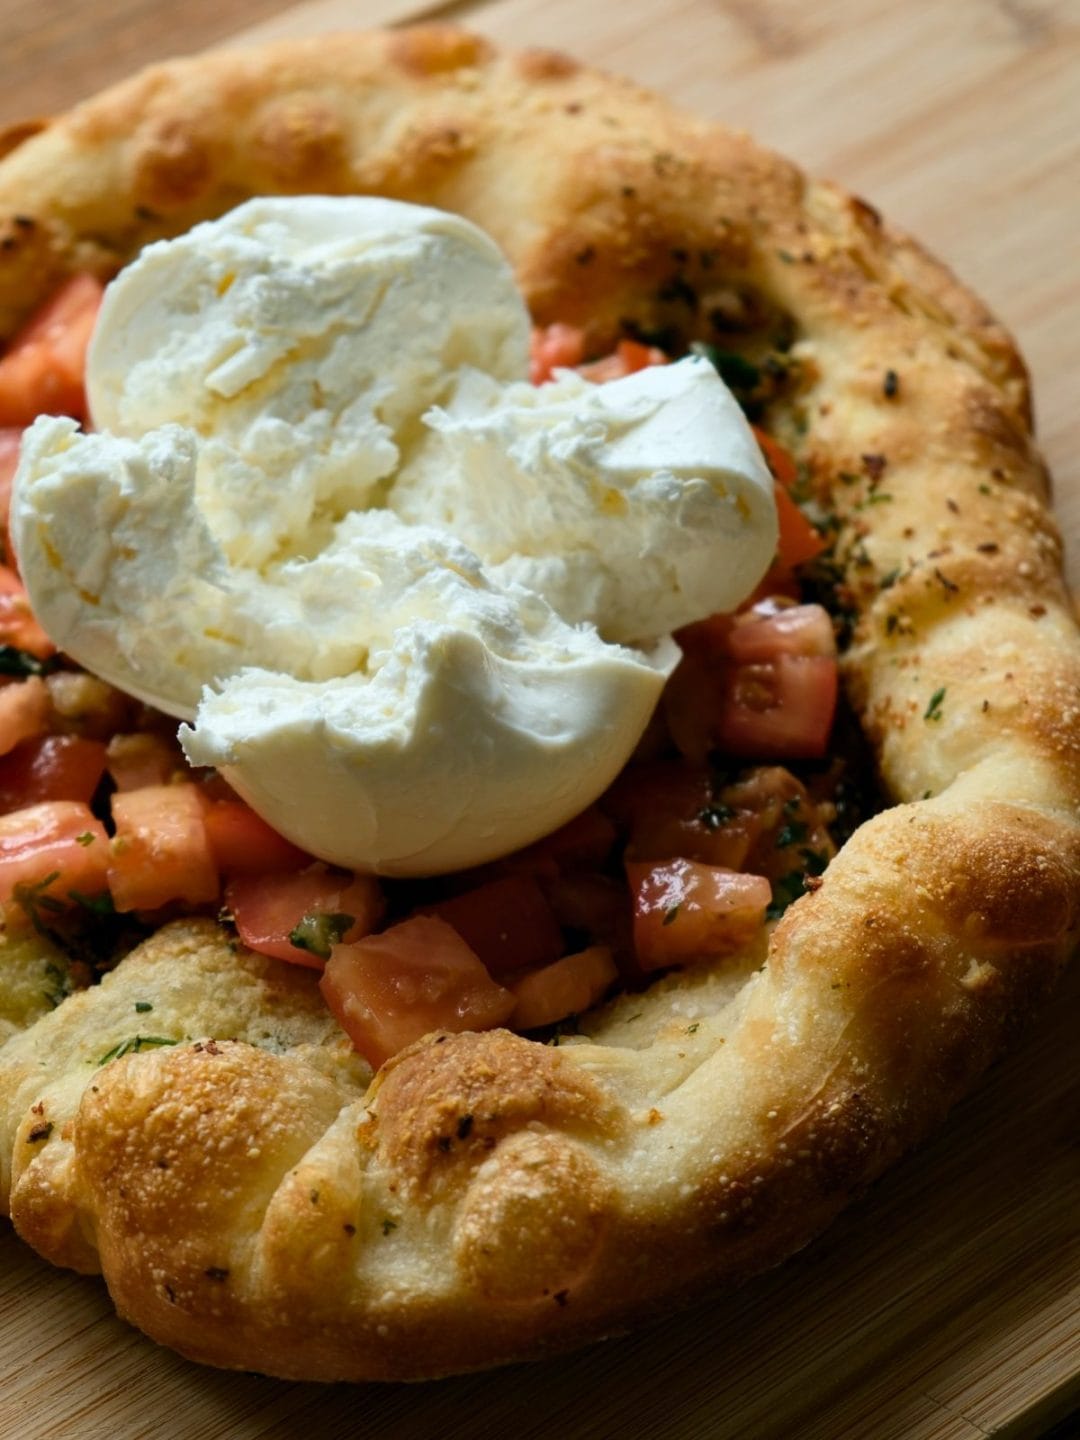
Making great pizza at home starts with the right pizza dough. For years, I used the same recipe, and the results were good. But I wanted something better: more elastic dough, airy edges, and a beautifully browned, crispy crust.
So, I started experimenting with flour, yeast quantities, and fermentation times. Eventually, I found the homemade pizza dough recipe I had been looking for!
This easy pizza dough recipe uses just four ingredients: flour, water, yeast, and salt. You can prepare it in about 3-4 hours or let it ferment in the refrigerator for 24-48 hours to develop a deeper flavor.
The dough has 70% hydration, which helps create a light, airy texture when handled correctly. It stretches well, develops beautiful bubbles around the edges, and works wonderfully for homemade pizza baked in a regular oven.
In this guide, I’ll show you how to make pizza dough with instant dry yeast, explain how to choose the right flour, and share my tips for getting a crispy pizza crust at home, even without a professional pizza oven or a pizza stone.
Let’s get started!
Why You’ll Love This Homemade Pizza Dough Recipe
There are plenty of pizza dough recipes out there, but this one has a few features that make it worth trying.
- Just four ingredients. All you need is flour, water, instant dry yeast, and salt. No oil, sugar, or other additions are necessary.
- Two fermentation options. Make pizza the same day with a 2-3 hour rise, or let the dough ferment in the refrigerator for 24-48 hours for a more developed flavor.
- An elastic, easy-to-stretch texture. The right flour, hydration, and kneading technique help create dough that stretches without tearing.
- Airy edges and a crispy crust. Proper fermentation and high baking temperatures help you achieve a delicious homemade pizza.
- No special equipment required. You can make this pizza dough without a stand mixer, pizza stone, or professional oven.
The recipe is simple, but a few details matter. The type of flour, the amount of yeast, the fermentation time, and the way you bake the pizza all affect the final result.
Let’s look at the ingredients before we start making the dough.
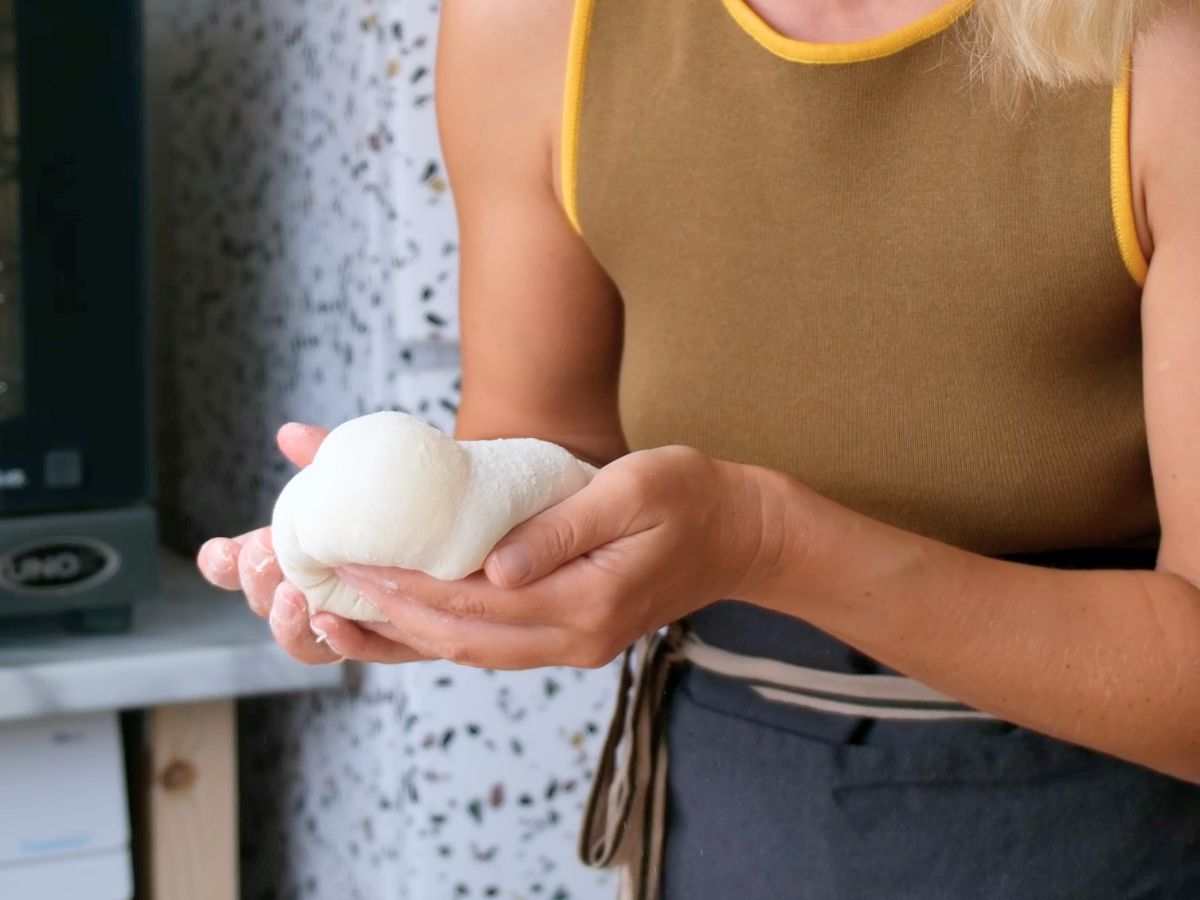
Ingredients for Homemade Pizza Dough
This recipe makes three medium pizzas or two large pizzas.
| Ingredient | Amount |
|---|---|
| Type 00 flour | 500 g (17.6 oz) |
| Water | 350 g (11.8 oz) |
| Instant dry yeast | 1 g |
| Salt | 15 g (0.53 oz) |
For the most consistent results, I recommend weighing the ingredients with a kitchen scale. Pizza dough depends on the proportions of flour and water, so measuring by weight is much more reliable than using cups.
What Is the Best Flour for Pizza Dough?
I prefer type 00 flour with a high protein content for this pizza dough recipe.
Italian type 00 flour is finely milled, but the 00 designation alone doesn’t tell you how strong the flour is. Its protein content and baking characteristics are also important.
A suitable flour helps develop a strong gluten network, allowing the dough to stretch easily and hold the gas produced during fermentation. This contributes to a light texture and airy edges.
If you can’t find Italian 00 flour, you can try one of these alternatives:
- Bread flour: A good option for pizza dough because it typically has a higher protein content than all-purpose flour.
- All-purpose flour: Works for homemade pizza, although the dough may have a different texture and may be less elastic, depending on the flour.
The best choice depends on the specific flour you have available. If you’re buying flour specifically for pizza, look for its protein content and the manufacturer’s recommendations for fermentation.
Why Does This Recipe Use So Little Yeast?
This recipe uses just 1 g of instant dry yeast for 500 g of flour.
That may seem like very little, especially if you’re used to recipes that call for a whole packet of yeast. However, a small amount is enough to ferment the dough gradually, particularly when you use the refrigerator fermentation method.
The slower fermentation gives the dough time to develop its flavor and structure.
If you’re making pizza on the same day, the dough can still rise at room temperature. The exact timing will depend on the temperature of your kitchen and the activity of the yeast. Rather than relying entirely on the clock, pay attention to the dough itself. It should become noticeably larger, softer, and more airy.
If your dough doesn’t rise as expected, check my article about why yeast dough doesn’t rise.
What Is Pizza Dough Hydration?
Pizza dough hydration refers to the amount of water in relation to the flour, expressed as a percentage.
This recipe has 70% hydration, meaning it contains 70 g of water for every 100 g of flour.
This hydration level produces relatively moist pizza dough that can stretch well and develop an airy texture.
However, higher hydration also means the dough may feel sticky, especially at the beginning. Don’t immediately add more flour to make it easier to handle. Doing so changes the hydration and can make the finished pizza denser.
Instead, give the flour time to absorb the water and knead the dough until its structure develops.
Now let’s make the dough step by step.
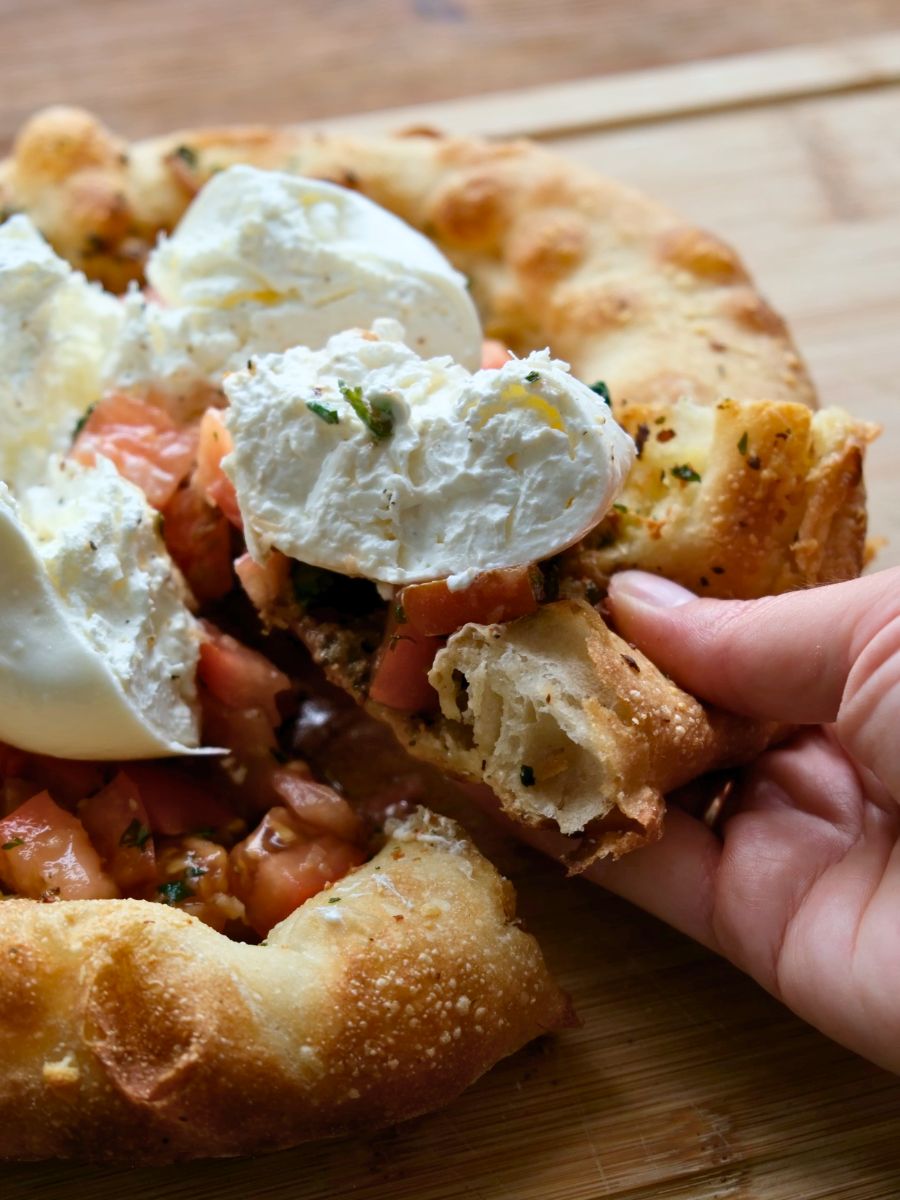
How to Make Pizza Dough
You don’t need a stand mixer or any special equipment to make this recipe. A mixing bowl, a kitchen scale, and a little patience are enough.
Step 1. Mix the Ingredients
Pour the water into a large mixing bowl and add the instant dry yeast. Stir to distribute it evenly.
Add approximately half of the flour and mix until combined.
Add the salt and the remaining flour. Mix everything until a rough dough forms and no large pockets of dry flour remain.
At this stage, the dough doesn’t need to be perfectly smooth. You’ll develop its texture during the resting and kneading stages.
Step 2. Let the Dough Rest for 30 Minutes
Cover the bowl with a lid or plastic wrap and let the dough rest at room temperature for 30 minutes.
During this time, the flour absorbs the water, and the gluten begins to develop. This resting period makes the dough easier to knead and helps improve its elasticity.
This technique is sometimes called an autolyse-like rest. Since the salt and yeast are already included, it isn’t a strict traditional autolyse, but the principle of allowing the flour to hydrate before further kneading is similar.
Step 3. Knead the Dough
Transfer the dough to a clean work surface, or continue kneading it in the bowl.
Knead for approximately 7-10 minutes, until the dough becomes smoother, more elastic, and more uniform.
At first, the dough may feel sticky because of its 70% hydration. Resist the temptation to add extra flour.
As you knead, the gluten network develops, and the dough becomes easier to handle.
If the dough is sticking to your hands or work surface, use a dough scraper to help you work with it. You can also let it rest for a few minutes before continuing.
The finished dough should feel soft and elastic rather than dry or stiff.
Step 4. Let the Pizza Dough Rise
Lightly grease a clean bowl with a little vegetable oil. Place the dough inside and cover it with a lid or plastic wrap.
Now you have two options, depending on how much time you have.
Option 1: Quick Pizza Dough — 2-3 Hours
Leave the dough at room temperature until it increases noticeably in volume and becomes airy.
The exact time depends on your kitchen temperature and yeast activity. A cooler room will slow fermentation, while a warmer room will speed it up.
Don’t worry if your dough needs a little longer than expected. Its condition matters more than the exact number of hours.
This is the best option if you want to make homemade pizza today without planning ahead.
Option 2: Slow Pizza Dough Fermentation — 24-48 Hours
Cover the bowl and place it in the refrigerator for 24-48 hours.
Cold fermentation slows yeast activity and gives the dough more time to develop its flavor and structure.
When you’re ready to make pizza, remove the dough from the refrigerator and allow it to warm up until it becomes relaxed enough to shape.
The time needed will depend on the dough’s temperature and how it has fermented. Avoid trying to stretch it while it’s still very cold and resistant.
Which fermentation method is better?
Both methods work.
Choose the short fermentation if you want pizza the same day. Choose the longer method if you can plan ahead and want to experiment with a more developed flavor.
Once the dough is ready, it’s time to shape your pizza and bake it.
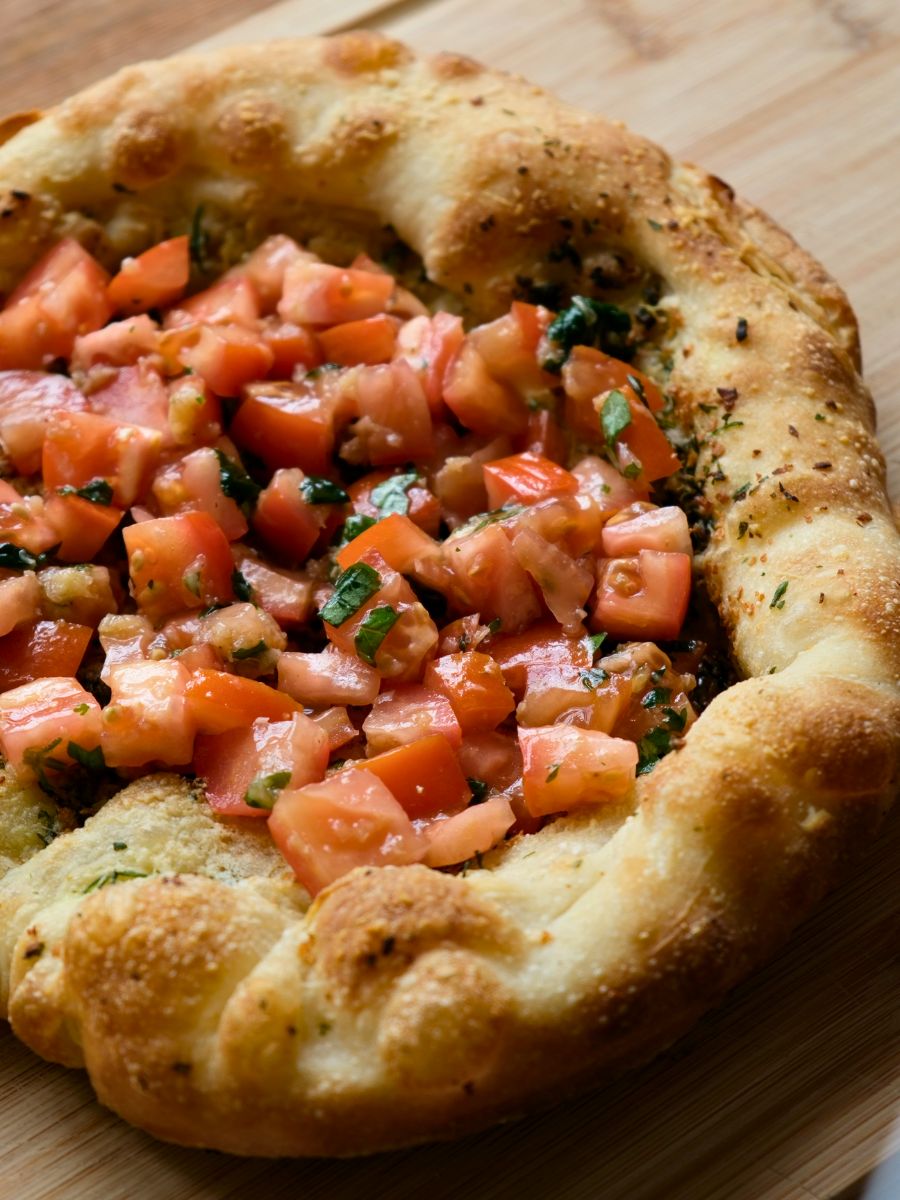
How to Bake Homemade Pizza in a Home Oven
You don’t need a professional pizza oven to make delicious pizza at home. However, a regular oven behaves differently from a dedicated pizza oven, so a few adjustments can make a big difference.
The key is to preheat the oven thoroughly, stretch the dough correctly, use a moderate amount of toppings, and give the pizza a hot surface to bake on.
1. Preheat Your Oven to Its Maximum Temperature
Professional pizza ovens reach temperatures much higher than most home ovens. A typical home oven may not get hot enough to produce the same results in such a short time.
To compensate, preheat your oven to its maximum temperature.
Allow approximately 30-40 minutes for thorough preheating, or longer if your oven or baking surface needs it.
If you’re using a metal baking sheet, place it in the oven while it preheats. Starting with a hot surface helps the bottom of the pizza cook and brown more quickly.
For a crispier crust, bake the pizza on the upper oven rack.
If your oven has a broiler, you can use it briefly at the end of baking to brown the top. Keep a close eye on the pizza because the cheese and crust can burn quickly under direct heat.
My tip: Learn how your oven behaves at its highest temperature. Small differences between ovens can affect how quickly the crust browns and how thoroughly the bottom cooks.
If you’d like to improve your baking skills, read my guide on how to learn to bake in an oven.
2. Prepare Your Work Surface
Before shaping the pizza, prepare a surface that allows you to stretch the dough and transfer it to the oven without sticking.
You can use a clean countertop, a large cutting board, or a pizza peel.
Dust the surface lightly with cornmeal or finely ground cornmeal. This helps the dough slide more easily and can add a little extra texture to the bottom crust.
Use only a small amount. Excess cornmeal can burn during baking and leave a bitter taste.
If you plan to transfer the pizza directly to a preheated baking sheet, make sure the dough can slide freely before adding the toppings. Once the pizza is assembled, moving it becomes much more difficult.
3. How to Stretch Pizza Dough Without a Rolling Pin
If you want a pizza with airy edges, avoid using a rolling pin.
A rolling pin presses gas out of the dough and flattens it evenly. This can prevent the edges from puffing up during baking.
Instead, stretch the dough by hand.
- Divide the dough into the desired number of portions if you haven’t already done so.
- Shape each piece of dough into a ball and let them rest for 20 minutes.
- Take one portion and gently press it with your fingertips, starting in the center.
- Work outward, gradually pushing the dough toward the edges.
- Stretch the dough using your hands, knuckles, or palms until it reaches the desired size.
- Keep the outer rim slightly thicker than the center.
Try to preserve the air in the outer edge rather than pressing it flat.
Don’t pull too hard, or the dough may tear. If it keeps shrinking back toward its original shape, let it rest for 5–10 minutes before trying again.
With properly fermented dough, this process should become easier as the dough relaxes.
4. Don’t Overload Your Pizza with Toppings
One of the most common reasons homemade pizza turns out soggy is too much moisture from the toppings.
A thin pizza base needs enough heat to bake quickly. Excess sauce, watery vegetables, and too much cheese can make this difficult.
Start with a thin layer of pizza sauce, leaving the edges uncovered.
Add the cheese and other toppings in moderate amounts. Avoid piling everything into a thick layer. This is particularly important in a home oven, where the pizza may take longer to bake than it would in a professional pizza oven.
If you’re using particularly juicy vegetables, consider reducing their moisture before adding them to the pizza.
A lighter topping layer allows the heat to reach the dough more effectively and helps the crust become crisp.
5. How to Get a Crispy Pizza Crust in a Home Oven
Getting a crispy pizza crust can be challenging when your home oven doesn’t reach extremely high temperatures.
If the bottom remains pale or the dough underneath the toppings seems undercooked, try one of these two methods.
Method 1: Pre-Cook the Pizza Base in a Skillet
A hot skillet can help the bottom of the pizza brown before you finish baking it in the oven.
Here’s how to do it:
- Heat a dry skillet thoroughly over medium-high heat. A heavy-bottomed skillet works particularly well.
- Stretch the pizza dough to the desired size.
- Carefully transfer the dough to the hot skillet.
- Cook briefly until the bottom begins to set and develop some color.
- Remove the skillet from the heat and add the pizza sauce and toppings.
- Transfer the pizza to your preheated oven and bake until the cheese melts and the crust is cooked through.
The exact timing depends on the skillet and the heat level. Watch the bottom carefully so it doesn’t burn before the top is ready.
Why does this work?
The skillet provides direct heat to the bottom of the dough. The oven then finishes cooking the pizza and melts the toppings.
This method is especially useful if your oven struggles to brown the bottom of the crust.
Method 2: Pre-Bake the Pizza Dough with Sauce
Another option is to bake the pizza base briefly before adding the cheese and other toppings.
This method is simple and doesn’t require a skillet.
- Stretch the dough and spread a thin layer of pizza sauce over it.
- Transfer the pizza to the preheated oven.
- Bake for approximately 2 minutes, until the dough begins to set.
- Remove the pizza and quickly add the cheese and remaining toppings.
- Return it to the oven and continue baking until done.
The initial baking time will depend on the oven temperature and the thickness of the dough.
Don’t wait until the base is fully baked during the first stage. It should only begin to set so that it can finish baking with the toppings.
6. What Is the Best Surface for Baking Pizza?
A pizza stone or baking steel is useful for homemade pizza because it stores heat and transfers it to the dough. However, you can still make great pizza without either one.
A regular metal baking sheet works well, provided you preheat it thoroughly.
When the dough touches a hot baking surface, the bottom begins cooking immediately. This helps the crust set and brown before excess moisture can make it soggy.
If you shape the pizza on a separate surface, you’ll need a way to transfer it to the hot baking sheet.
A pizza peel is ideal for this purpose.
If you don’t have one, an inverted metal baking sheet can work as a transfer surface. Make sure the dough slides freely before you attempt to move it, and handle the hot equipment carefully.
Avoid putting your pizza on a cold baking sheet if you’re aiming for a crispy bottom. The cold metal needs time to heat up, slowing the cooking of the crust.
7. How Long to Bake Homemade Pizza
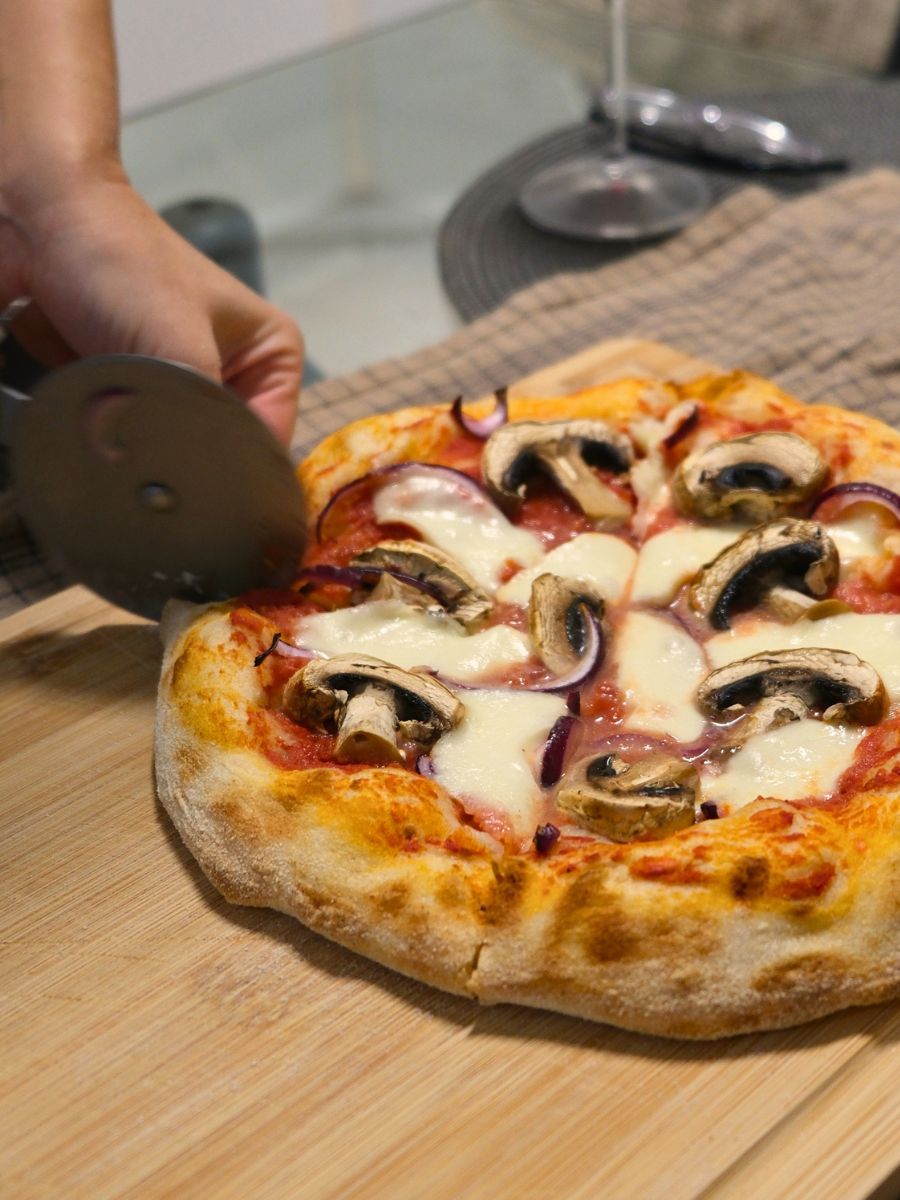
At the maximum temperature of a home oven, pizza may take approximately 5-8 minutes to bake. However, this is only a guideline.
The actual baking time depends on your oven, the thickness of the dough, the baking surface, and the amount of toppings.
Look for these signs that your pizza is ready:
- The edges have puffed up and turned golden brown.
- The crust has developed golden or darker spots.
- The cheese has melted.
- The bottom is fully cooked and has reached your preferred level of browning.
Don’t worry about a few dark spots on the crust. They add flavor and are common on pizzas baked at high temperatures. However, watch the pizza closely, especially if you’re using the broiler to brown the top.
My most important tip: Don’t try to compensate for an oven that isn’t hot enough by simply baking the pizza for longer. Extended baking can dry out the edges before the bottom becomes crispy. Instead, preheat the baking surface thoroughly, use fewer toppings, and try one of the pre-cooking methods if necessary.
With properly fermented dough and a few adjustments to your baking technique, you can make delicious homemade pizza with a thin base, airy edges, and a beautifully browned crust.
If you try this recipe, I’d love to hear how it turned out! Share your experience or any creative twists in the comments below. Happy baking!
Easy Homemade Pizza Dough Recipe | YellowMixer.com Baking Blog
Print RecipeIngredients
- 500 g (17.6 oz) type 00 flour
- 350 g (11.8 oz) water, room temperature
- 1 g instant dry yeast
- 15 g (0.53 oz) salt
Instructions
Combine the water and instant dry yeast in a large bowl. Add half the flour and mix. Add the salt and remaining flour, mixing until a rough dough forms.
Cover the bowl and let the dough rest at room temperature for 30 minutes.
Knead the dough for 7-10 minutes until smooth and elastic. Avoid adding extra flour, as the dough should remain slightly sticky.
Place the dough in a lightly oiled bowl and cover.
For same-day pizza, let the dough rise at room temperature for 2-3 hours, until noticeably increased in volume and airy. For better flavor, refrigerate the dough for 24-48 hours. Before shaping, let it warm up until relaxed and easy to stretch.
Preheat the oven to its maximum temperature for 30-40 minutes. If using a baking sheet, preheat it in the oven.
Divide the dough into 3 medium or 2 large portions. Shape each piece of dough into a ball and let it rest for 20 minutes.
Gently stretch each portion by hand, leaving the edges slightly thicker.
Spread a thin layer of pizza sauce over each base, leaving the edges uncovered. Add cheese and your preferred toppings without overloading the pizza.
Bake on the upper oven rack for approximately 5-8 minutes, or until the crust is golden brown, the edges are puffed, and the cheese has melted. Baking time will vary depending on your oven and the thickness of the dough.


Be the first to comment