
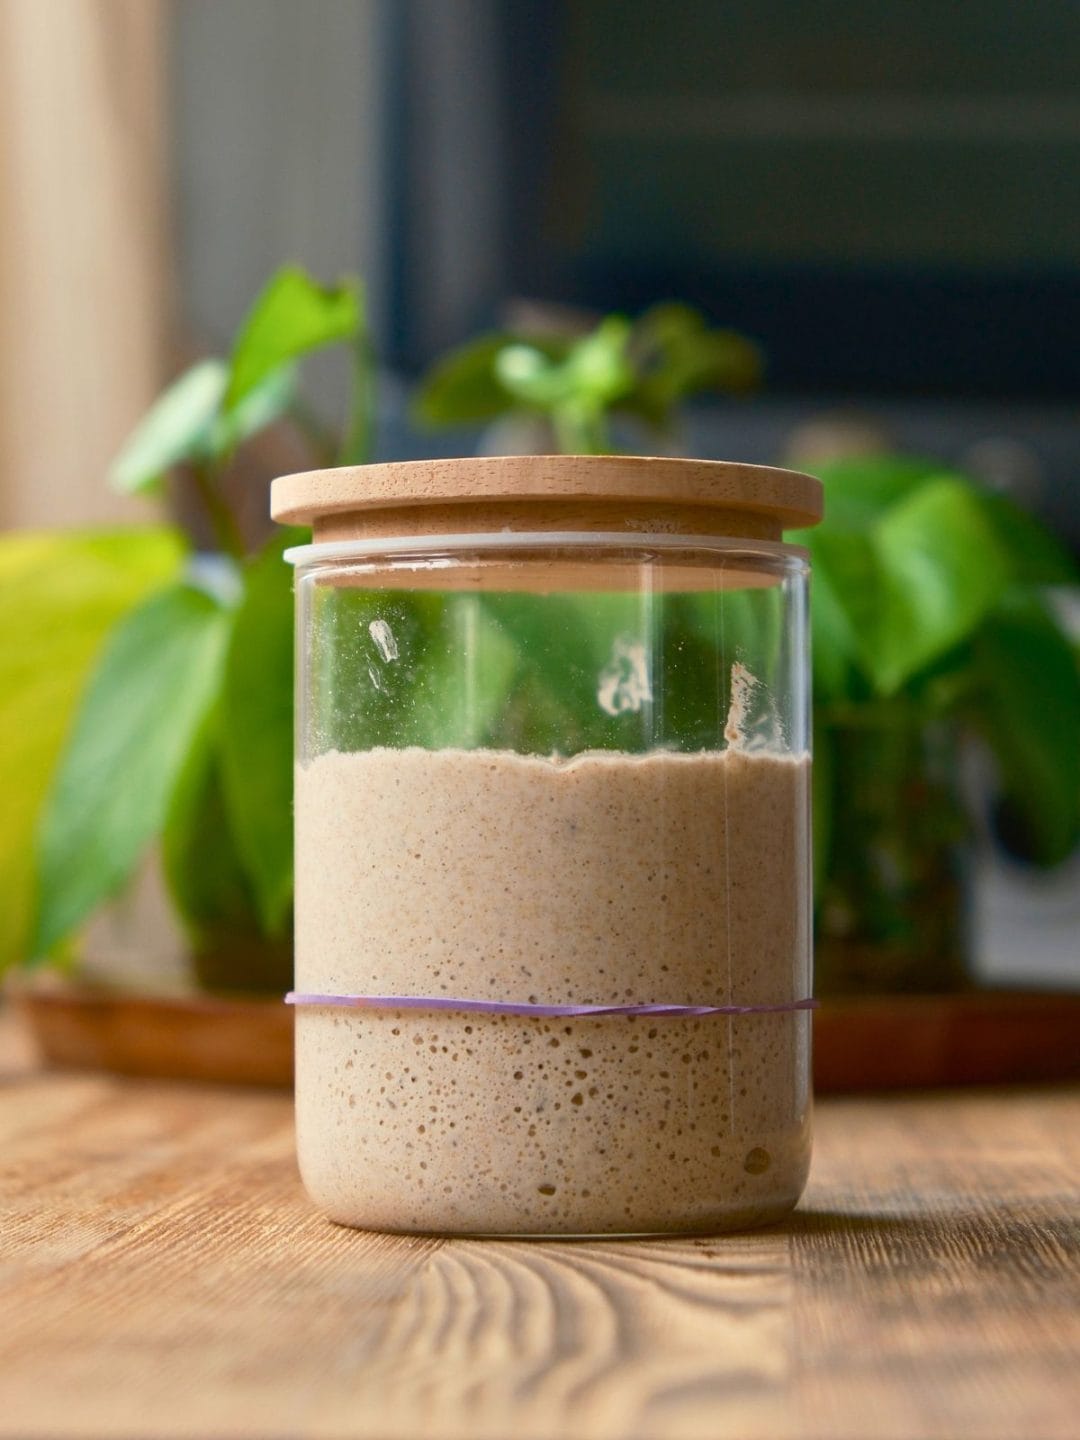
A sourdough starter is a culture of microorganisms, mainly wild yeasts and lactic acid bacteria, that ferment flour. They help the dough rise and give sourdough bread its distinctive flavor and aroma.
A long time ago, I tried to make a sourdough starter twice, and both times I gave up pretty quickly. It felt a lot like having a pet: you had to keep an eye on it and feed it every day.
But I kept learning about sourdough, and decided to try again. And it turned out to be much easier than I thought.
My current sourdough starter has been with me for almost 4 years and has helped me make a lot of good bread. I have learned a lot from it, and now I want to share what I know with you.
There is one thing I particularly like about sourdough starters: your starter will be uniquely yours. Even if two people use the same flour and water and follow exactly the same method, their starters can develop differently. Temperature, feeding schedule, flour and the surrounding environment all influence the microbial community.
In this article, I will show you how to make a sourdough starter from scratch, what happens during the first few days, how to feed it, and how to tell when your starter is ready to bake bread.
Important: My starter became active enough to bake with in 5 days, but this does not mean yours will be ready in exactly 5 days. Flour, temperature and fermentation conditions all affect how quickly a starter develops.
Watch the Video: How to Make a Sourdough Starter From Scratch
If you prefer watching the process, I filmed the whole thing day by day in this YouTube video:
What You Need to Make a Sourdough Starter
You don’t need much to get started.
Ingredients
- whole rye flour
- drinking water
Whole rye flour is a good choice for starting a sourdough starter because it is rich in nutrients and naturally contains microorganisms that can become part of the developing starter culture.
Once your starter is established, you can:
- keep feeding it with rye flour;
- use a combination of rye and wheat flour;
- or gradually switch to wheat flour.
Equipment
- a small transparent jar or glass;
- kitchen scale;
- spatula or spoon for mixing;
- lid or plastic wrap;
- rubber band for marking the starter’s level.
I recommend using a transparent container because it makes it much easier to see the bubbles and track how much your starter rises.
Day 1: Starting the Sourdough Starter
Mix:
15 g whole rye flour + 15 g water
Mix thoroughly until all the flour is hydrated.
Cover the container with a lid or plastic wrap. Don’t seal it completely airtight.
Leave it at room temperature for about 24 hours.
What Is Happening Inside the Starter?
Flour naturally contains different microorganisms. Once they get moisture and access to nutrients, they begin interacting and multiplying.
As fermentation progresses, the environment changes. Some microorganisms grow faster while others are gradually outcompeted. The starter becomes more acidic, and a community of yeasts and lactic acid bacteria gradually develops.
This is the community that will eventually ferment our bread dough.
Day 2: Is Nothing Happening?
After 24 hours, your starter may look almost exactly the same as it did yesterday.
That’s completely normal.
If your kitchen is warm, you may already notice a few small bubbles or a slightly sour smell.
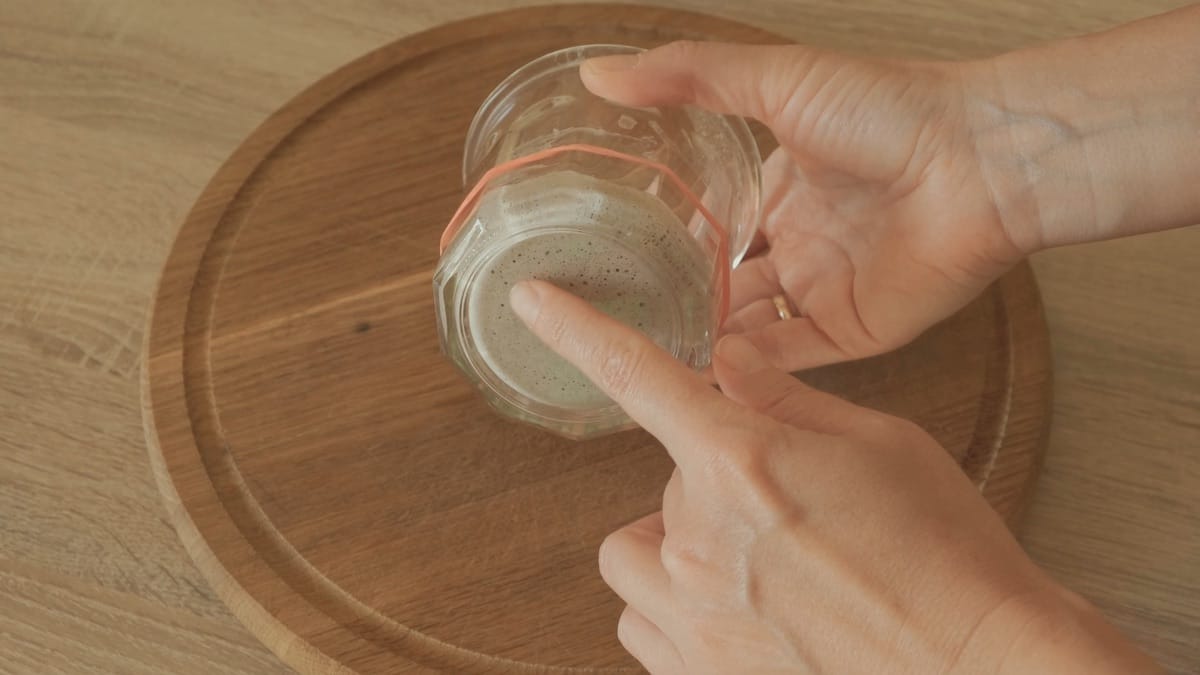
At this stage, the microbial community is still developing. The environment is gradually becoming more acidic, and the balance of microorganisms is changing.
I don’t feed my starter on Day 2. I simply leave it for another day.
Day 3: The First Signs of Activity
On Day 3, the starter may become more liquid and develop a more noticeable sour smell.
Fermentation is now becoming more active. Conditions are gradually becoming more favorable for lactic acid bacteria and wild yeasts.
Lactic acid bacteria produce acids that influence the flavor and aroma of the future bread, while yeasts produce carbon dioxide, which is what helps the dough rise.
But there is one important thing to remember: not all sourdough starters develop at the same speed.
My starter was already quite active on Day 3, so I started feeding it.
If yours has barely changed, don’t panic. Simply leave it for another day.
The First Feeding
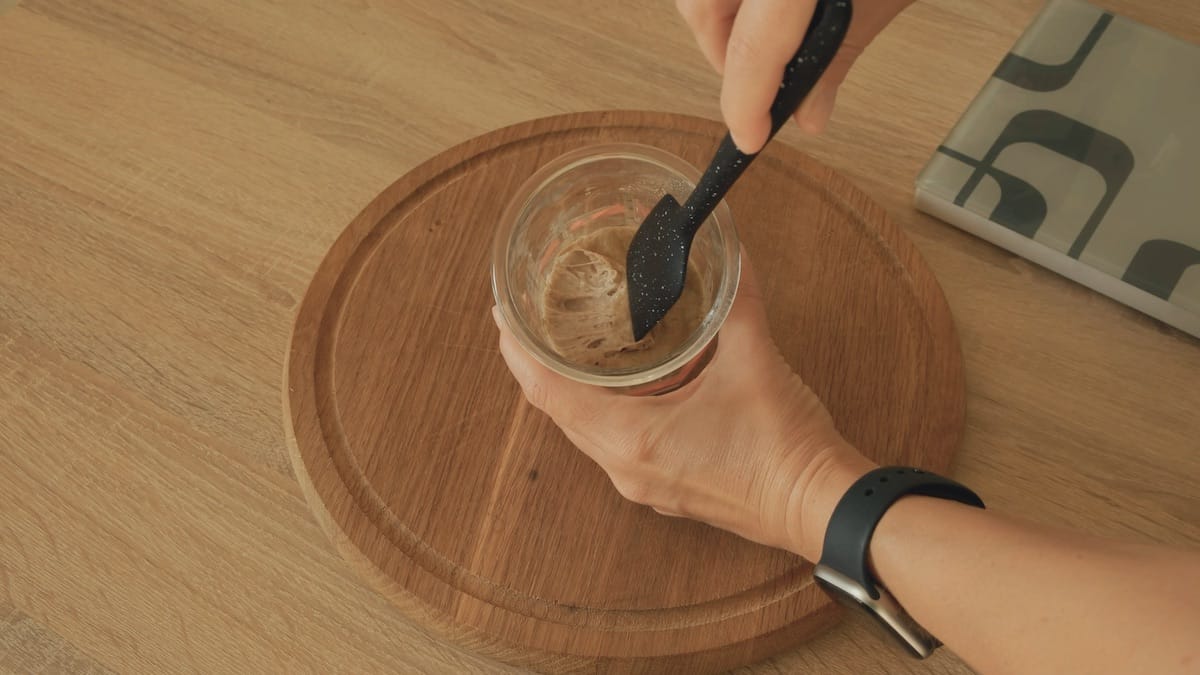
I use a 1:1:1 feeding ratio:
- 30 g starter
- 30 g water
- 30 g whole rye flour
Mix everything well, cover it and leave it for another day.
I use a rubber band to mark the starting level of the starter. This makes it easy to see how much it rises.
During Days 3 and 4, the starter can become quite active and may rise and then quickly fall again. This early rise is not necessarily a sign that your starter is mature and ready to bake with.
Day 4: The Sourdough Starter Begins to Mature
By Day 4, more acids have accumulated in the starter and the environment has become increasingly acidic.
A more stable community of microorganisms — lactic acid bacteria and wild yeasts — is gradually developing.
Feeding the Starter
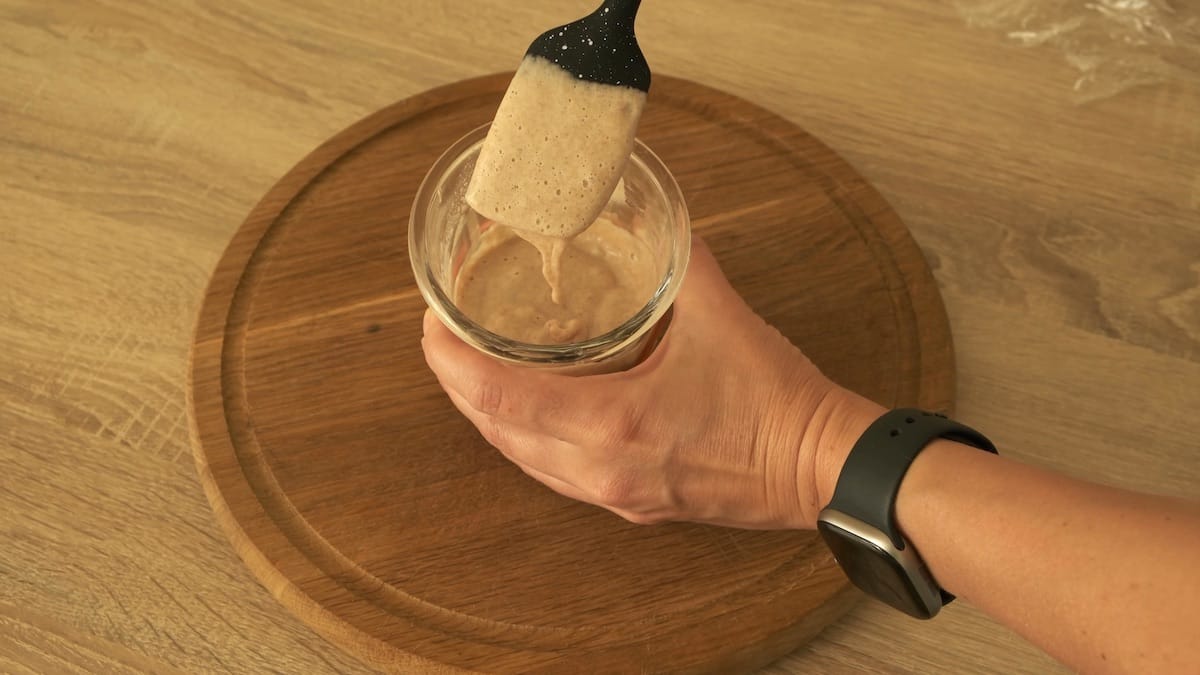
Again, I use a 1:1:1 ratio:
- 30 g starter
- 30 g water
- 30 g fresh flour
Mix everything, cover the container, mark the starting level with a rubber band and leave it to ferment.
You don’t necessarily have to throw away the starter that you remove before feeding. You can use it to make pancakes, crêpes or other recipes with sourdough discard.
Day 5: Is the Sourdough Starter Ready?
By Day 5, my starter was finally showing a clear result.
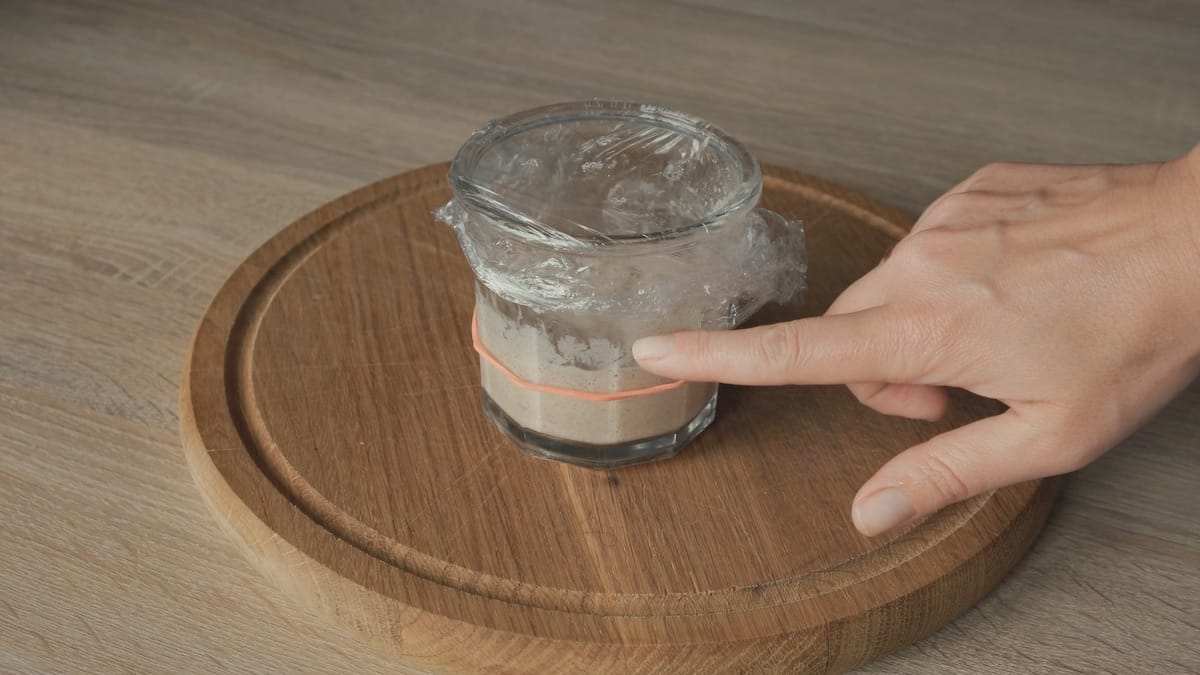
You can see on the sides of the glass that the starter had risen to about twice its original volume and then started to fall.
This tells me that the yeast is active and fermentation is happening.
The fact that the starter has fallen means that it has already gone through a significant part of its fermentation cycle and is ready to be fed again.
At this point, I also start introducing the flour I plan to use for my bread.
Instead of using only rye flour, I use a combination of:
- 15 g whole rye flour
- 15 g wheat flour
- 30 g water
- 30 g starter
The feeding ratio is still 1:1:1 — there are simply two different types of flour in the 30 g flour portion.
How Do You Know When a Sourdough Starter Is Ready?
Don’t judge your starter only by the number of days.
Your sourdough starter may be ready in 5 days, 7–10 days, or even longer.
Instead, pay attention to how it behaves.
1. Smell
An active, mature starter should have a pleasant acidic smell. It can remind you of yogurt or cheese.
Strong unpleasant odors or a moldy smell are not what we want to see.
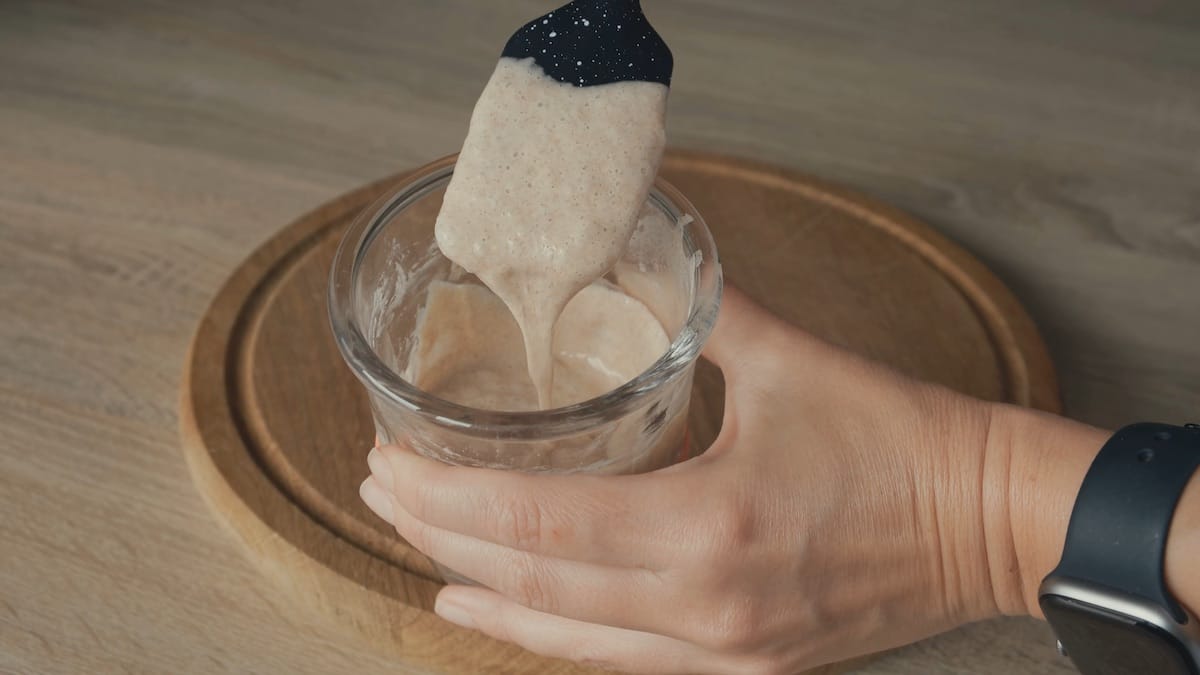
2. Bubbles
An active starter should contain plenty of bubbles throughout the mixture.
Bubbles are one of the visible signs that fermentation is taking place.
3. Rise
After feeding, an active starter should rise consistently.
A useful guideline for a young starter is that it should at least double in volume within a few hours after feeding.
In my case, the starter more than doubled in about 4 hours.
That was a good indication that it was active enough to use for baking.
When Should You Add Sourdough Starter to Bread Dough?
Ideally, use your starter at or near its peak activity — when it has risen well, contains plenty of bubbles, and hasn’t started to collapse significantly yet.
There is a popular test called the float test: you drop a small amount of starter into water, and if it floats, it may indicate that the starter contains enough gas to be ready for baking.
However, I wouldn’t rely on the float test alone.
The most useful things to watch are how your starter behaves after feeding, how much it rises, how bubbly it is, how it smells and how long it takes to reach its peak.
How to Maintain a Sourdough Starter
Do you need to feed a sourdough starter every day?
No.
This is one of the things I learned after trying to make a starter several times.
If you bake frequently, you can keep your starter at room temperature and feed it regularly.
But if you bake only occasionally or are going away on vacation, you can store your starter in the refrigerator. The cold temperature slows fermentation considerably, so the starter doesn’t need daily feeding.
This is why a sourdough starter doesn’t necessarily have to become a pet that you have to look after every day. It’s much less demanding than it may seem at first.
I keep my starter in the refrigerator and usually feed it only before I plan to bake bread. Sometimes that means every 2–3 weeks, and there have even been times when I left it for about a month.
When it has been sitting in the refrigerator for that long, I feed it twice, with about 5–8 hours between feedings, depending on the room temperature. I watch how it behaves, make sure it rises well and has the right smell, and only then mix my bread dough.
Final Thoughts
Making a sourdough starter from scratch is actually much simpler than it may seem. All you need is flour, water, a scale, a container and a little patience.
The most important thing is not to panic if your starter doesn’t behave exactly like someone else’s starter online.
It might rise dramatically on Day 3 and then stop. It might stay almost unchanged for several days. It might take a week or more before it becomes consistently active.
That’s okay.
Don’t let the calendar decide whether your starter is ready. Let the starter itself tell you.
My new starter was ready to bake with after about five days. Now it’s time to use it to make bread.
What’s Next?
Now that the starter is active, it’s time to bake!
In the next recipe, I’ll show you how to make a basic sourdough bread, from mixing the dough to baking the loaf, and we’ll see how this young starter performs in real bread dough.
→ Coming next: Basic Sourdough Bread Recipe


Be the first to comment